Mastering Egg Separation: Shell, Hand & Tool Techniques Explained
Whether you're whisking up a delicate meringue, crafting a silky custard, or baking light-as-air macarons, successfully separating egg whites from yolks is a fundamental skill in the kitchen. A single drop of yolk in your whites can be the difference between a soaring soufflé and a flat failure, as the fat in the yolk inhibits the whites' ability to whip into stiff, airy peaks. But fear not, aspiring bakers and home chefs! This comprehensive guide will walk you through the most effective and popular methods for how to separate egg whites and yolks like a seasoned pro, offering invaluable tips to ensure your culinary creations reach their full potential.
The Art and Science of Egg Separation: Why It Matters So Much
Before diving into the "how-to," it's crucial to understand the "why." Egg whites, primarily composed of protein and water, are incredible emulsifiers. When agitated (whipped), these proteins unfold and create a stable foam by trapping air, resulting in volume and lightness. Egg yolks, on the other hand, are rich in fats and cholesterol. Even a minuscule amount of this fat introduced into your egg whites acts as a defoaming agent, coating the protein molecules and preventing them from forming a strong, stable structure. This is why recipes calling for whipped egg whites are so particular about achieving a clean separation.
For dishes like French macarons, fluffy meringues, angel food cake, or delicate soufflés, precision in egg separation isn't just a suggestion—it's a critical step for success. The integrity of your final product hinges on pure, yolk-free whites. To delve deeper into this, read Why Proper Egg Separation is Key for Perfect Meringues & Macarons.
Method 1: The Classic Shell-to-Shell Technique
This is arguably the most traditional and widely used method, relying on the egg's natural structure and a steady hand. It's a method that most home cooks will encounter first and, with a little practice, master.
Step-by-Step Guide
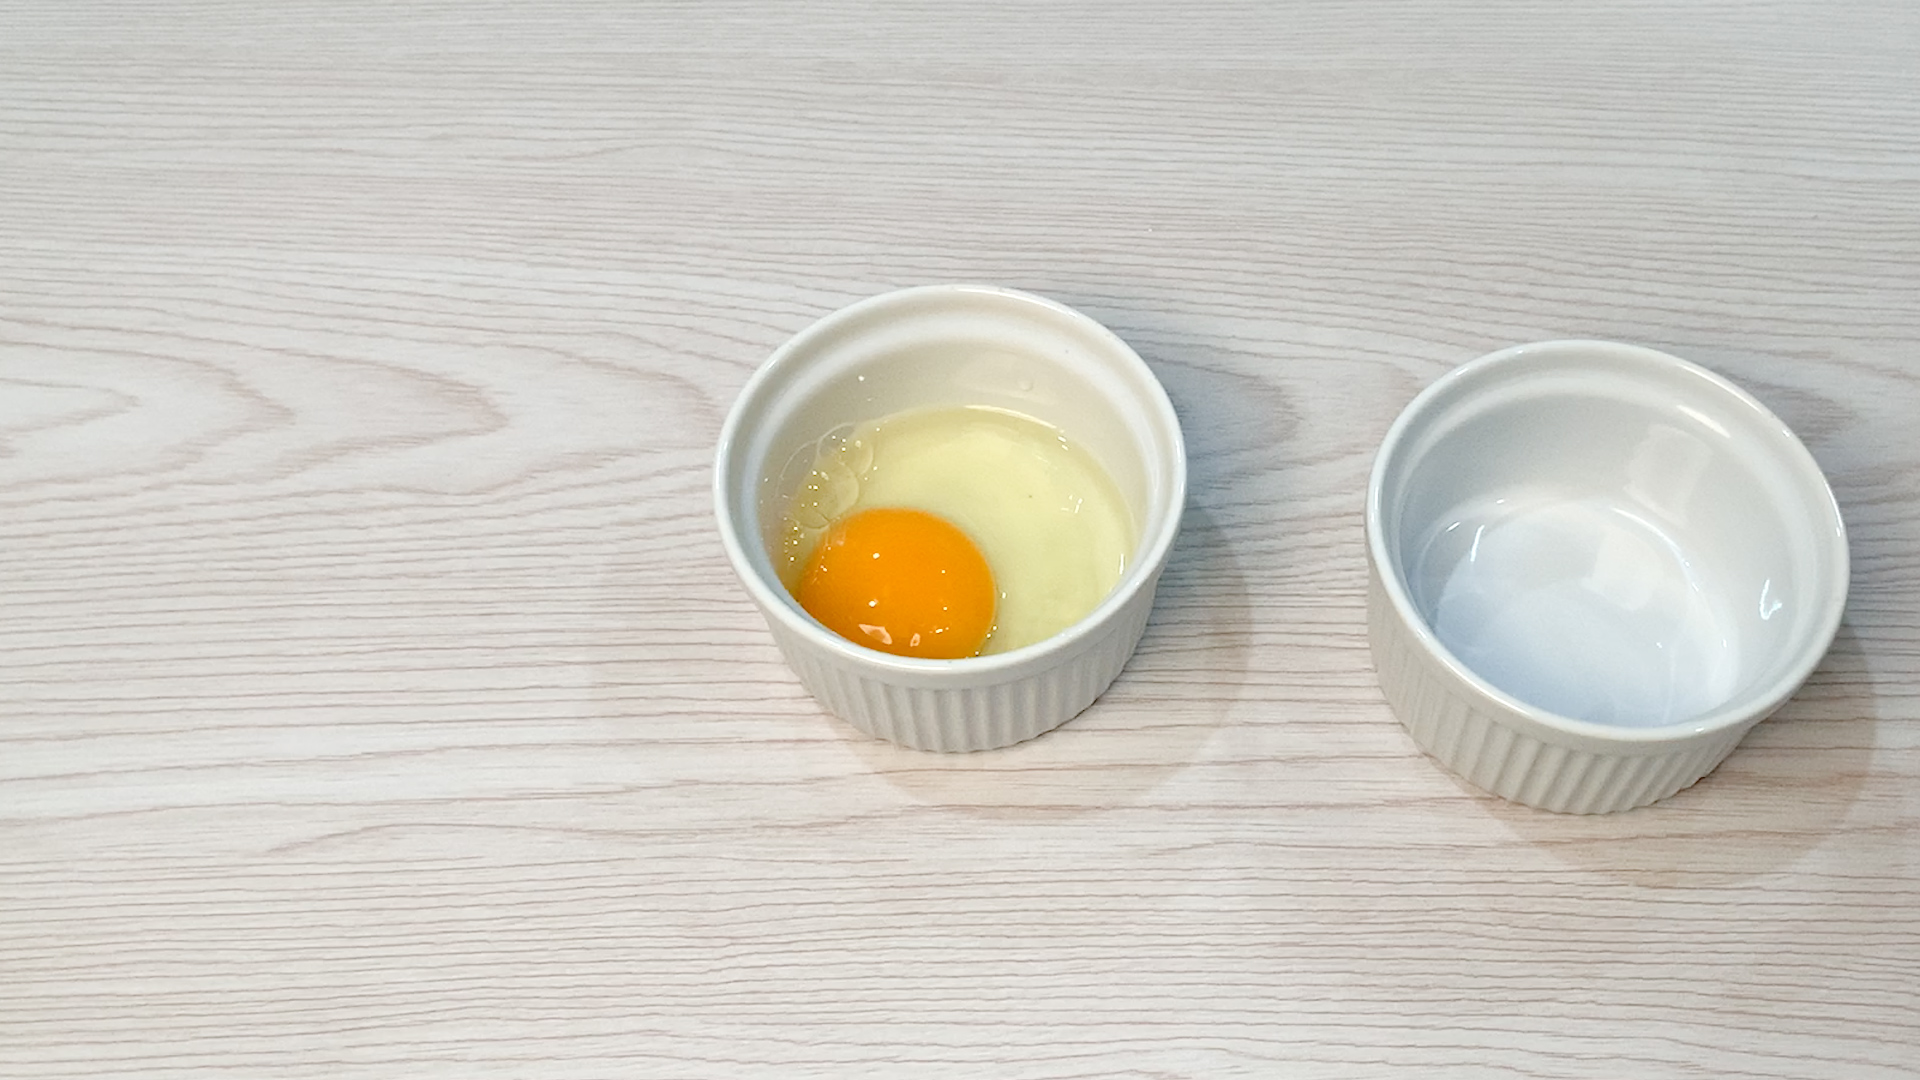
- Prepare Your Workspace: Set out two clean bowls. One will be for your egg whites, the other for your yolks. If you're separating multiple eggs for a recipe that requires whipped whites, always separate each egg individually into a smaller, separate "catch" bowl first. This way, if a yolk breaks, it only contaminates one batch, not all your already separated whites. You can then transfer the successfully separated white and yolk to their respective larger bowls.
- Crack the Egg: Gently but firmly tap the egg on a flat surface (like your countertop) or on the rim of a bowl. Aim to crack it as close to the middle as possible. Cracking on a flat surface tends to create a cleaner, less splintered crack, reducing the likelihood of shell fragments falling into your egg. While cracking on a rim might seem easier for getting a central crack, it increases the risk of jagged edges that can introduce tiny shell pieces.
- Gently Pry Apart: Holding the cracked egg over your "catch" bowl, use your thumbs to carefully pry the two halves of the shell apart. Keep the yolk nestled in one half of the shell. As you widen the opening, the thinner, more liquid part of the egg white will begin to run off the sides of the yolk and into the bowl below.
- Transfer the Yolk: Once the initial rush of white has dripped away, carefully transfer the yolk back and forth between the two shell halves. Tilt the shell slightly, allowing more of the viscous white to slide into the bowl, while holding the yolk securely in one half. Repeat this process two or three times until most of the white has separated from the yolk. Be exceedingly gentle to avoid puncturing the delicate yolk membrane.
- Isolate the Yolk: Once you're satisfied that most of the white has been removed, carefully place the intact egg yolk into its designated bowl. Repeat for any remaining eggs.
Pros and Cons
- Pros: Requires no special tools, gives you good control over the yolk, traditional and widely practiced.
- Cons: Can be slower, higher risk of shell fragments (if cracked on a rim), requires a delicate touch to prevent yolk breakage.
Method 2: The Speedy Hand Separation Method
For those who prefer a more tactile approach and value speed, the hand method is an excellent, tool-free option. It’s particularly efficient when separating many eggs at once, though hygiene is paramount.
How to Master It
- Prioritize Handwashing: This step is non-negotiable. Wash your hands thoroughly with soap and warm water, paying attention to remove any oils, lotions, or residue. Any fat or oil from your hands can contaminate the egg whites and prevent them from whipping properly.
- Crack the Egg: Just as with the shell method, crack the egg gently on a flat surface.
- Cup and Separate: Over your designated egg white bowl, cup your hand with your fingers slightly splayed. Open the cracked egg directly into your upturned palm.
- Let the Whites Drip: As you hold the yolk in the cup of your hand, gently jiggle and tilt your hand. The egg white, being more liquid, will naturally slip through the gaps between your fingers and into the bowl below. The yolk, being more solid, will remain in your palm.
- Release the Yolk: Once the whites have fully drained, carefully transfer the intact yolk to its separate bowl.
Pros and Cons
- Pros: Very fast, requires no tools, efficient for multiple eggs.
- Cons: High contact with hands means a greater risk of oil contamination if hands aren't meticulously clean. Some people may find the sensation unpleasant.
Method 3: Effortless Egg Separation with Kitchen Tools
If you prefer to keep your hands clean or find the previous methods tricky, there's a range of kitchen tools designed to make egg separation a breeze. From dedicated gadgets to ingenious household hacks, these methods often offer added convenience and reduced risk of breakage.
Dedicated Egg Separators
These specialized tools are designed for one purpose: to make egg separation foolproof. They typically consist of a small bowl or cup with a slotted design, often with a lip that hooks onto the side of a larger bowl. To use, simply crack the egg directly into the separator. The whites will drain through the slots, leaving the yolk behind in the cup. They are incredibly easy to use and clean, making them a worthy investment for frequent bakers.
The Slotted Spoon or Ladle Trick
Don't have a dedicated separator? A slotted spoon or a small ladle can serve a similar purpose. Crack the egg into the slotted spoon held over a bowl. The whites will pass through the slots, while the yolk remains in the spoon. This method is effective but can sometimes be a bit messier if the slots are too large or the spoon is not held steady.
The Plastic Bottle Method
This ingenious hack is surprisingly effective and widely popular.
- Prepare: Crack your egg into a flat, shallow bowl or plate. Get an empty, clean plastic water bottle (a smaller 16 oz bottle works well).
- Squeeze and Suction: Gently squeeze the plastic bottle to expel some air.
- Hover and Release: Position the mouth of the squeezed bottle over a yolk. Slowly release your grip on the bottle. The suction created will gently pull the yolk up into the bottle, leaving the white behind in the bowl.
- Expel Yolk: Move the bottle over your yolk bowl, squeeze again to release the yolk, then repeat for remaining eggs.
Pros and Cons of Tool Methods
- Pros: Often cleaner, faster, and reduces direct hand contact. Great for beginners or those who prefer convenience. The plastic bottle method is particularly fun and effective.
- Cons: Requires an additional tool (which needs to be cleaned). Some tools might not be as effective for very fresh or very old eggs where whites can be exceptionally thick or thin.
Expert Tips for Perfect Egg Separation Every Time
Beyond choosing your preferred method, a few universal best practices will significantly improve your egg separation success rate:
- Temperature Matters: Chilled eggs are easier to separate. The yolk membrane is firmer when cold, making it less likely to break. However, many baking recipes call for room temperature egg whites for optimal whipping volume. The solution? Separate your eggs while they're cold, then cover the whites (and yolks) with plastic wrap and let them come to room temperature (typically 30-60 minutes) before using. This gives you the best of both worlds: easy separation and maximum whip.
- One by One: We touched on this, but it bears repeating: always separate eggs one at a time into a smaller bowl before adding them to your main collection. This is your best defense against a single broken yolk ruining an entire batch of whites.
- Scoop Out Shells: If a piece of eggshell falls into your whites, don't try to fish it out with your fingers (risk of oil contamination). Instead, use a larger piece of eggshell to scoop it out. The shell acts like a magnet, attracting the smaller fragment.
- What if a Yolk Breaks? If a yolk breaks into your whites, unfortunately, those whites are compromised for delicate recipes requiring stiff peaks. Don't throw them away, though! They're still perfectly fine for dishes where a little fat won't matter, like scrambled eggs, omelets, or adding to baked goods where the fat content is already high.
- Cleanliness is Key: Ensure all bowls, utensils, and your hands are impeccably clean and free of any grease or soap residue. Even minute traces can hinder egg white foam.
- Consider Freshness: Very fresh eggs tend to have firmer yolks and thicker whites, making separation a bit easier. As eggs age, the whites thin out, which can sometimes make separation trickier but also allows for a quicker drip. For more valuable insights on this topic, check out The Easiest Ways to Separate Egg Whites for Perfect Baking.
No matter which method you choose, practice makes perfect. With a little patience and adherence to these tips, you'll soon be separating egg whites and yolks with confidence and precision, opening up a world of culinary possibilities in your kitchen. Happy baking!
